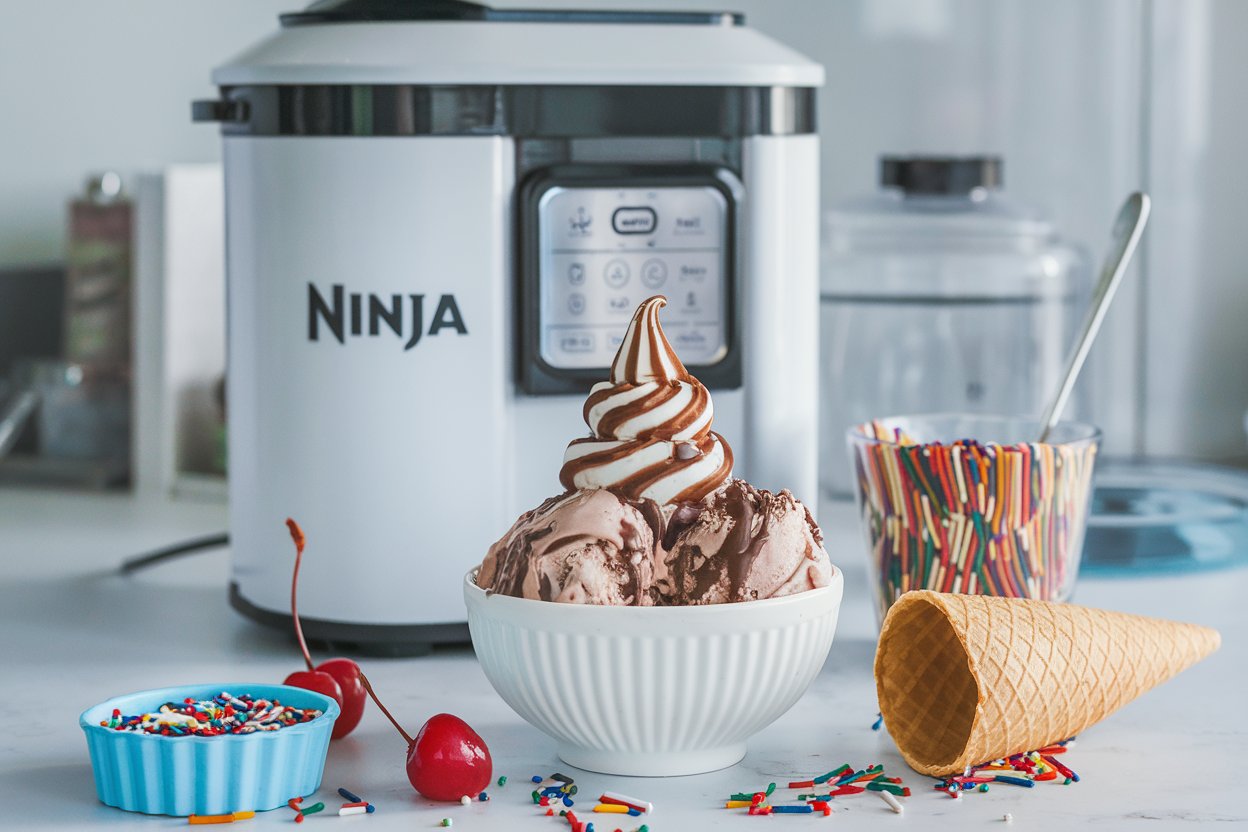
Imagine you’re at home, and suddenly, you crave that rich, chocolate malt ice cream from childhood. Instead of going out, you think, “Wait, I have a Ninja Creami! Why not make it here?”
This homemade ice cream might be better than store-bought. After a few tries, I perfected the recipe. You’ll want to try it too.
Why This Recipe Hits the Sweet Spot
My first try, I thought adding malted milk powder was simple. But, it’s not that easy. The key is finding the right balance. You need a hint of malted milk, plus chocolate from cocoa powder and melted chocolate chips.
This mix might seem excessive, but it’s what makes the ice cream special.
What You’ll Need (And Why It Matters)
Here’s your shopping list with a brief explanation for each item:
- Whole Milk (2% works too, but whole milk = extra creamy texture)
- Heavy Cream (don’t skimp here—this is non-negotiable)
- Malted Milk Powder (look for Carnation or Horlicks; they’re both great)
- Cocoa Powder (Dutch-processed is my top choice for a rich flavor)
- Semi-Sweet Chocolate Chips
- Sugar (regular granulated does the trick)
- Vanilla Extract (pure vanilla, please)
- Pinch of Salt (small touch, big difference)
Some might ask about using low-fat milk. The answer is yes, but it changes the texture. For the smooth, rich texture you want, use full-fat milk.
The Step-by-Step Process

- Melt Your Chocolate Chips
Start by melting the chocolate chips. Use a double boiler if you have one, or the microwave in 30-second bursts. Be careful not to burn the chocolate. - Whisk Your Dry Ingredients
In a bowl, mix the malted milk powder, cocoa powder, and sugar. This removes any lumps from the cocoa powder. - Combine Everything
Pour the milk and cream into a blender. Add the dry ingredients, melted chocolate, vanilla, and salt. Blend until smooth. Check by running your finger on the back of a spoon. If it’s gritty, keep blending. - Pour and Freeze
Pour the mix into the Ninja Creami pint container, but don’t fill it too much. Freeze for 24 hours. It’s a long wait, but it’s worth it. - Processing Time
Put the frozen pint into the Ninja Creami and press the ice cream button. The first time you hear it churn, it might sound broken. But it’s normal. Just let it do its magic.
Troubleshooting Tips (For Those “Oops” Moments)

Look, we’ve all been there. Here are a few quick fixes for common issues:
- Too Icy? Hit that re-spin button. Sometimes once isn’t enough, especially if your freezer’s extra cold.
- Too Soft? Your base mix was likely a bit warm when it hit the freezer. Next time, chill it in the fridge for an hour first.
- Odd Texture? Check your ratios. Too much malted milk powder can make things a little grainy.
Make It Your Own
I’m not here to tell you not to have fun with this. Want to add some crushed malted milk balls? Love that idea. Thinking about swirling in fudge sauce? Brilliant. The base recipe is a winner, but feel free to get creative.
A few days ago, I tried tossing in some crushed chocolate-covered pretzels at the end. Did I need to? No. Was it amazing? Absolutely.
Storage Tips (If You Somehow Have Leftovers)
Honestly, this ice cream rarely lasts long enough to need storage advice, but if you have more self-control than I do, here are some tips:
- Keep it in the Ninja Creami pint container
- Store at the back of your freezer (not the door)
- If it gets too hard, let it sit out for 5 minutes before scooping
- For the best texture, re-spin if it’s been stored for more than a few days
Final Thoughts
Here’s the funny thing: I started making this recipe because I didn’t want to go out, and now I actually prefer it to store-bought. There’s something pretty satisfying about creating your own perfect scoop, especially when it nails that chocolate malt flavor.
First time I served it to friends, they thought I’d bought it from a fancy shop. Should I be flattered or offended? Still debating.
Making ice cream with the Ninja Creami isn’t exactly like using traditional ice cream makers, but once you get the hang of it, you’re going to want to try all kinds of flavors. This chocolate malt recipe is just the beginning—just don’t blame me if you find yourself constantly making batch after batch. Ice cream addiction? Totally not my fault.
Recipe Card
Easy Chocolate Malt Ice Cream (Ninja Creami)
Prep Time: 15 minutes
Freeze Time: 24 hours
Processing Time: 5 minutes
Total Time: 24 hours 20 minutes
Servings: 1 pint
Ingredients
- 1 cup whole milk
- 1 cup heavy cream
- 1/3 cup malted milk powder
- 1/4 cup cocoa powder (Dutch-processed)
- 1/3 cup semi-sweet chocolate chips
- 1/3 cup granulated sugar
- 1 teaspoon vanilla extract
- 1/8 teaspoon salt
Instructions
- Melt chocolate chips in the microwave in 30-second intervals, stirring between each until smooth.
- In a bowl, whisk together malted milk powder, cocoa powder, and sugar until well combined.
- In a blender, combine milk, cream, melted chocolate, dry ingredient mixture, vanilla, and salt.
- Blend until completely smooth and no graininess remains.
- Pour into Ninja Creami pint container, leaving space at the top.
- Freeze for 24 hours.
- Process in Ninja Creami on ice cream setting.
- Re-spin if needed for desired consistency.
Notes
- Ensure all ingredients are well-blended before freezing
- Don’t skip the 24-hour freeze time
- Always use fresh, high-quality ingredients
- Store in the back of the freezer for the best texture

