Stop treating your morning nutrition like a chaotic salvage operation. You know the routine: standing over a cluttered counter at 7:00 AM, wrestling with a stubborn blender lid while hacking away at a frost-bitten banana that looks like it survived a glacial shift. It is inefficient; it is messy; and frankly, it is beneath your culinary potential. We are moving beyond the era of the "impulse smoothie." We are entering the age of the Freezer Smoothie Packs. This is not just about convenience; it is about cryogenic nutrient locking. By pre-portioning your botanicals and flash-freezing them at their peak metabolic state, you bypass the degradation of cellular enzymes. Imagine a texture so viscous it rivals high-end gelato, powered by a piquant burst of antioxidants that haven't been diluted by excess ice or oxidized by air exposure. This is modular kitchen infrastructure at its finest. We are going to engineer a system that turns your freezer into a high-performance refueling station, ensuring every sip is a masterpiece of emulsification and thermal precision.
THE DATA MATRIX
| Metric | Specification |
|---|---|
| Prep Time | 25 Minutes |
| Execution Time | 60 Seconds |
| Yield | 5 Modular Packs |
| Complexity (1-10) | 2 |
| Estimated Cost per Serving | $1.85 |
THE GATHERS
Ingredient Protocol:
- 500g / 4 cups Baby Spinach (freshly harvested)
- 750g / 5 cups Mixed Berries (blueberries, raspberries, blackberries)
- 5 units / 5 medium Bananas (peeled and sliced)
- 250ml / 1 cup Greek Yogurt or Coconut Cream (for the pucks)
- 125ml / 0.5 cup Chia Seeds or Flax Seeds
- 50g / 5 tbsp Almond Butter or Cashew Butter
- Optional: 5ml / 1 tsp Pure Vanilla Extract per pack
Section A: Ingredient Quality Audit:
The most common failure point in Freezer Smoothie Packs is the use of overripe, bruised fruit that has already begun the process of fermentation. If your berries are weeping juice, they will create a solid block of ice rather than individual frozen nodules. To fix this, rinse your fruit in a 3:1 water-to-vinegar solution to kill surface bacteria, then dry them completely using a salad spinner or a lint-free kitchen towel. If your bananas are too soft, they will oxidize and turn a dismal grey. The technical fix is a quick dip in an ascorbic acid solution (lemon juice and water) to inhibit the browning enzymes before they hit the sub-zero environment.
THE MASTERCLASS
Step 1: The Base Layer Calibration
Start by preparing your greens. Pack 100g of spinach into the bottom of each heavy-duty silicone bag. Use a digital scale to ensure uniformity across all five units. By placing the greens at the bottom, you ensure they are the first to hit the blades when you eventually invert the bag into your blender jar.
Pro Tip: Use a bench scraper to compress the greens. This removes excess oxygen pockets that cause freezer burn. Reducing the surface area exposed to air is the primary defense against nutrient degradation.
Step 2: Slicing and Flash-Freezing
Peel and slice your bananas into 1cm rounds. Arrange them in a single layer on a parchment-lined baking sheet. Do the same with any large strawberries or stone fruits. Place the tray in the freezer for 20 minutes before bagging.
Pro Tip: This "individual quick freeze" (IQF) method prevents the fruit from fusing into a singular, impenetrable mass. It allows the blender blades to catch individual pieces, creating a more viscous and aerated texture rather than a chunky slush.
Step 3: The Liquid Pucks
Instead of adding liquid later, freeze your yogurt or nut milk into silicone ice cube trays. Once frozen, pop two "pucks" into each pack. This stabilizes the temperature of the blend and ensures the fat content is perfectly distributed.
Pro Tip: If using honey or maple syrup, infuse it into the yogurt before freezing. This prevents the sweetener from sticking to the sides of the blender, ensuring a consistent flavor profile throughout the entire 500ml yield.
Step 4: Final Assembly and Vacuum Sealing
Add your pre-frozen fruit and seeds on top of the greens and yogurt pucks. Squeeze as much air out of the bag as possible before sealing. Label each pack with the date and the specific nutrient profile using a permanent marker.
Pro Tip: For a professional finish, use a straw to suck out the remaining air from the corner of the bag before the final seal. This DIY vacuum seal protects the delicate antioxidants in the berries from sublimation.
Section B: Prep & Timing Fault-Lines:
Timing is the silent killer of the smoothie pack. If you leave your ingredients on the counter for more than 10 minutes during assembly, the surface moisture will melt and then refreeze into "bridge ice," welding your ingredients together. Work in batches. Keep the fruit in the freezer until the exact second you are ready to bag it. If your kitchen is over 22 degrees Celsius, chill your digital scale platform and your mixing bowls to maintain the thermal chain.
THE VISUAL SPECTRUM
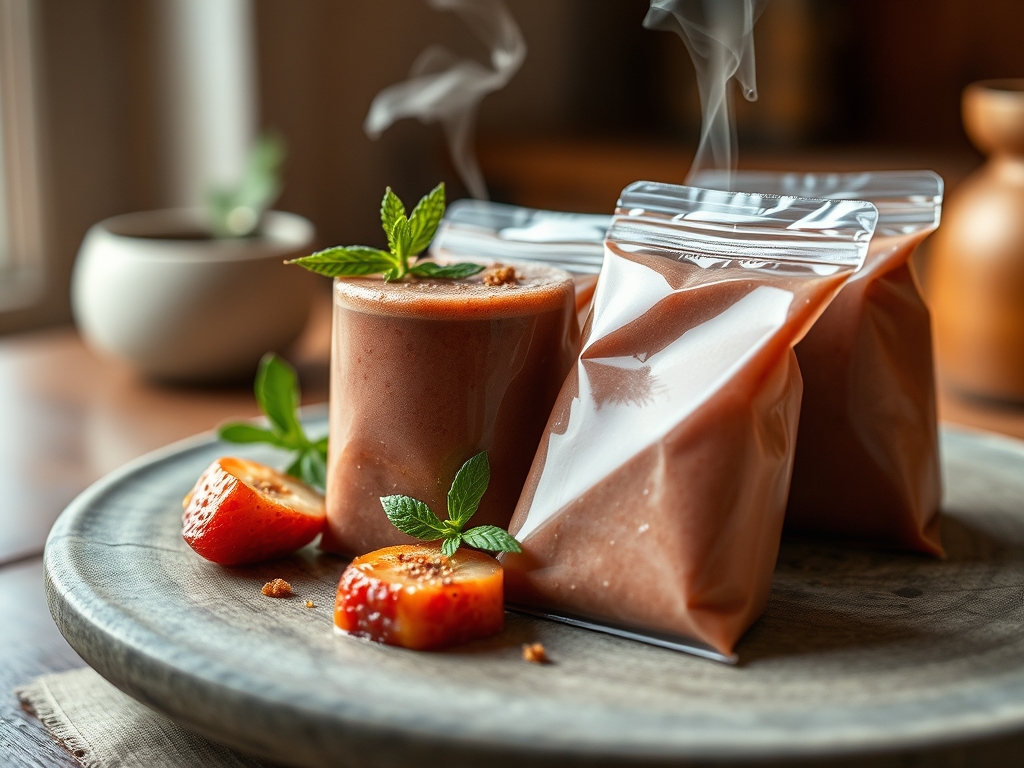
Section C: Thermal & Visual Troubleshooting:
Look at the Masterclass photo above. Notice the vibrant, distinct colors of the fruit and the absence of frost crystals on the interior of the bag. If your packs look "cloudy" or white, you have failed to remove enough air, leading to ice crystal formation. If the greens look dull or olive-colored, they have been crushed too aggressively, rupturing the cell walls. To fix a "dull" smoothie appearance, ensure you are adding a touch of acidity (like a lime wedge) into the pack; this keeps the chlorophyll bright. If the texture is too thin upon blending, you likely skipped the "liquid puck" step. The frozen yogurt provides the structural integrity needed to aerate the mixture into a thick, spoonable consistency.
THE DEEP DIVE
Macro Nutrition Profile:
Each pack is engineered for a balanced metabolic response. You are looking at approximately 320 calories; 45g of complex carbohydrates; 8g of fiber; and 12g of healthy fats. The inclusion of chia seeds provides the necessary omega-3 fatty acids to slow the absorption of fructose, preventing the mid-morning insulin spike and subsequent energy crash.
Dietary Swaps:
- Vegan: Replace Greek yogurt with coconut cream or cashew-based yogurt pucks. Ensure the protein content is supplemented with a scoop of pea protein.
- Keto: Eliminate the bananas and berries. Replace them with frozen avocado chunks and cauliflower rice (which adds creaminess without flavor). Use heavy cream pucks.
- GF: Naturally gluten-free, but ensure your almond butter is processed in a certified facility to avoid cross-contamination.
Meal Prep & Reheating Science:
While you don't "reheat" a smoothie, the science of tempering is vital. For the best molecular structure, remove the pack from the freezer 5 minutes before blending. This slight increase in temperature allows the ice crystals to soften just enough so the blender can render the fruit into a silky emulsion without needing to add excess liquid, which would dilute the nutrient density.
THE KITCHEN TABLE
Why is my smoothie always gritty?
Grittiness usually stems from un-milled seeds or fibrous greens. Ensure you are using a high-speed blender. If the problem persists, soak your chia seeds in the yogurt pucks before freezing to soften their outer shells.
Can I use frozen fruit from the store?
Absolutely. Store-bought frozen fruit is often flash-frozen at the source. However, you must still portion it into modular packs to prevent repeated exposure to air every time you open the large bulk bag.
How long do these packs actually last?
When properly vacuum-sealed and kept at a constant -18 degrees Celsius, these packs maintain peak nutrient integrity for 90 days. Beyond that, the flavor remains, but the structural quality of the vitamins begins to diminish.
My blender is struggling with the frozen packs. Help!
Add your liquid (water, coconut water, or nut milk) to the blender first, then drop in the pack. The liquid creates a vortex that pulls the frozen solids down into the blades, preventing "bridging" and motor strain.