The morning rush is a structural failure of time management that most modern kitchens are ill-equipped to handle. You wake up with a biological mandate for complex carbohydrates, yet you are staring at a disorganized cupboard like it is a crime scene. This is where we initiate the Oatmeal Pantry Audit. We are not just making porridge; we are engineering a high-viscosity fuel source designed to sustain peak cognitive performance through the noon hour. Forget the dusty, instant packets filled with processed sugars and artificial dust. We are looking for structural integrity. We want oats that have been audited for surface area, moisture retention, and thermal stability. Your pantry is currently a liability. We are going to turn it into a high-output laboratory. By the time we are finished, your breakfast will not just be food; it will be a masterpiece of fiber density and molecular synergy. Let us strip away the culinary fluff and focus on the raw mechanics of the perfect bowl.
THE DATA MATRIX
| Metric | Specification |
|---|---|
| Prep Time | 2 Minutes |
| Execution Time | 7 Minutes |
| Yield | 1 Serving |
| Complexity (1-10) | 3 |
| Estimated Cost per Serving | $0.85 |
THE GATHERS
Ingredient Protocol:
- 80g / 1 cup Old Fashioned Rolled Oats (Certified Gluten-Free if necessary)
- 250ml / 1 cup Filtered Water or Alkaline Water
- 125ml / 0.5 cup Full-Fat Oat Milk or Whole Milk
- 1.5g / 0.25 tsp Fine Sea Salt
- 5ml / 1 tsp Pure Vanilla Extract
- 15g / 1 tbsp Unsalted Grass-Fed Butter or Coconut Oil
- Toppings: 30g / 0.25 cup Toasted Walnuts, 5g / 1 tsp Maple Syrup
Section A: Ingredient Quality Audit:
The primary failure in most oatmeal preparation is the use of stale grain. Oats contain natural oils that can go rancid; if your pantry smells like old cardboard, your fiber density is compromised. To fix this, store your grains in airtight glass containers to prevent oxidation. If your water has a high mineral content, it will inhibit the oats from softening properly. Use filtered water to ensure the viscous starches release evenly into the liquid. If your oats seem too thin, the culprit is likely a lack of fat. Adding a lipid like butter or coconut oil allows the mixture to emulsify, creating a creamy mouthfeel that water alone cannot achieve.
THE MASTERCLASS
1. The Dry Toast Phase
Place your saucier over medium heat and add the dry oats. Shake the pan constantly for two minutes until the grains emit a nutty aroma. This is the Maillard reaction in action.
Pro Tip: Toasting the oats before adding liquid creates a protective barrier that prevents the grain from becoming mushy. Use a bench scraper to ensure no stray oats remain stuck to the bottom of the pan, which could lead to localized scorching.
2. Hydration and Salt Integration
Add your filtered water and sea salt to the toasted oats. Immediately increase the heat to bring the mixture to a light simmer. Do not walk away; the transition from hydration to overflow is a matter of seconds.
Pro Tip: Salt is a flavor multiplier, not just a seasoning. Adding it early allows the sodium to penetrate the cellular structure of the oat, which helps to infuse the entire dish with a balanced profile rather than just a salty surface. Use a digital scale for the salt to ensure consistency across every batch.
3. The Dairy Infusion
Once the water is mostly absorbed, pour in your milk of choice. Reduce the heat to low. Stir in a figure-eight motion using a silicone spatula to encourage the release of starches without breaking the individual grains.
Pro Tip: This secondary liquid phase is where we build the creamy architecture of the dish. By using a saucier with rounded edges, you prevent "dead zones" where the oats can clump and burn. The dairy proteins will render a silky texture that coats every fiber.
4. The Final Emulsification
Remove the pan from the heat while the oats still look slightly loose. Stir in the butter and vanilla extract. Cover the pan with a tight-fitting lid and let it rest for exactly two minutes.
Pro Tip: The carry-over heat will finish the cooking process. This resting period allows the liquid to reach an equilibrium state. If you skip this, you end up with "soup" instead of a cohesive, viscous breakfast. The fat from the butter will aerate slightly as you give it one final, vigorous stir.
Section B: Prep & Timing Fault-Lines:
Human error is the greatest threat to fiber density. If you boil the liquid too vigorously, you will cause the starches to explode, resulting in a glue-like consistency. The goal is a gentle simmer. If your timing is off and the oats become too thick, do not panic. Simply deglaze the pan with a splash of hot water or milk to loosen the structure. Never use cold liquid for adjustments; it shocks the starches and ruins the texture.
THE VISUAL SPECTRUM
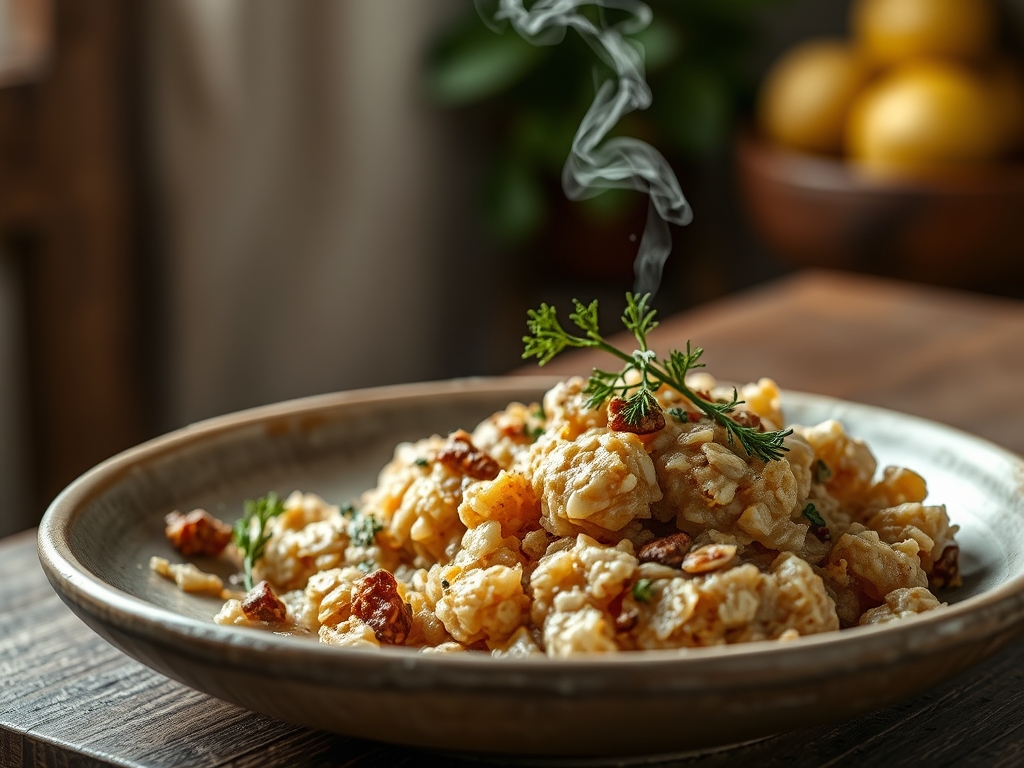
Section C: Thermal & Visual Troubleshooting:
Look at the Masterclass photo above. Notice the individual definition of each oat grain; they are not a monolithic mass. If your oats look dull and grey, you likely skipped the toasting phase. Toasting provides that golden-brown hue and structural rigidity. If you see pooling liquid at the edges of the bowl, your emulsion has broken. This usually happens if the heat was too high or the resting period was skipped. The surface should have a slight sheen, indicating that the fats have successfully integrated with the starches. If the color is uneven, it means your heat distribution was poor; consider upgrading to a heavy-bottomed stainless steel pan for better thermal conductivity.
THE DEEP DIVE
Macro Nutrition Profile:
A single serving of this audited oatmeal provides approximately 350 calories. You are looking at 12g of protein, 45g of complex carbohydrates, and 14g of healthy fats. The high fiber content, specifically beta-glucan, is the secret weapon for sustained energy.
Dietary Swaps:
For a Vegan profile, replace the butter with almond butter and use soy milk for the highest protein density. For a Gluten-Free (GF) version, ensure your oats are certified, as cross-contamination in processing facilities is a common infrastructure failure. For Keto, this dish is inherently difficult, but you can swap 50 percent of the oats for hemp hearts and chia seeds to lower the net carb count.
Meal Prep & Reheating Science:
To maintain molecular structure when reheating, add 30ml of liquid per serving before microwaving. The oats will have absorbed all original moisture in the fridge. By adding fresh liquid, you re-hydrate the starch matrix without making it soggy. Heat in 30-second intervals to avoid localized thermal pockets that can turn the oats rubbery.
THE KITCHEN TABLE
How do I fix bitter-tasting oats?
Bitterness usually indicates the oats have gone rancid. Check your "best by" date. If the oats are fresh, you may have over-toasted them. Ensure you only toast until they smell nutty, not burnt.
Can I use steel-cut oats with this method?
Steel-cut oats require a different infrastructure. They need a 4-to-1 liquid ratio and approximately 20 to 30 minutes of simmer time. The toasting phase remains essential, but the execution time increases significantly.
Why is my oatmeal always sticky?
Stickiness is caused by over-stirring or excessive heat. Both actions rupture the starch granules. Stir gently and keep the heat at a simmer to maintain the structural integrity of the grain.
Is it better to use water or milk?
A hybrid approach is superior. Starting with water allows the oats to hydrate fully. Finishing with milk provides the fats and proteins necessary for a creamy, professional-grade viscous texture.
What is the best way to store bulk oats?
Store them in a cool, dark place in an airtight container. If you buy in extreme bulk, consider vacuum sealing smaller portions to prevent oxygen from degrading the natural oils and ruining your next Oatmeal Pantry Audit.