Listen closely because the structural integrity of your lunch is currently under investigation. We are moving past the era of soggy, limp flour discs and entering the realm of high-performance culinary engineering. This is the 5 Minute Quesadilla Audit; a rigorous examination of thermal conductivity and lipid distribution designed to turn a humble pantry staple into a masterpiece of crunch and melt. Imagine the sound of a serrated blade breaching a perfectly dehydrated tortilla exterior. The crust shattered into golden shards while the interior remains a viscous lake of emulsified proteins. We are not just making a snack; we are managing a phase change. Every second on the heat counts toward the final score. If your cheese is not stretching at a forty-five-degree angle or your tortilla lacks that characteristic leopard-spotting of the Maillard reaction, you have failed the inspection. We demand excellence in every fold. Prepare for a total system overhaul where speed meets scientific precision.
THE DATA MATRIX
| Metric | Specification |
|---|---|
| Prep Time | 2 Minutes |
| Execution Time | 3 Minutes |
| Yield | 1 Serving |
| Complexity (1-10) | 2 |
| Estimated Cost per Serving | $1.45 |
THE GATHERS
Ingredient Protocol:
- 2 Large Flour Tortillas (25cm / 10 inch)
- 115g / 1 cup High-Moisture Monterey Jack or Oaxaca Cheese (Freshly Grated)
- 30ml / 2 tbsp Unsalted Butter or Neutral Oil
- 5g / 1 tsp Smoked Paprika or Chili Powder
- 15ml / 1 tbsp Pickled Jalapenos (Finely Chopped)
- 30g / 2 tbsp Fresh Cilantro (Roughly Chopped)
Section A: Ingredient Quality Audit:
The primary failure point in most rapid-melt systems is the use of pre-shredded cheese. These products are coated in potato starch or cellulose to prevent clumping in the bag. This anti-caking agent acts as a thermal barrier, preventing the cheese from achieving a truly viscous and cohesive melt. Technical Fix: Use a box grater or the shredding attachment of a food processor to grate your cheese fresh from the block. This ensures the proteins can bond without interference. Additionally, if your tortillas are brittle or dry, they will crack during the fold. Technical Fix: Flash-steam the tortillas for five seconds in a microwave between damp paper towels to restore elasticity before they hit the pan.
THE MASTERCLASS
1. Thermal Priming and Lipid Application
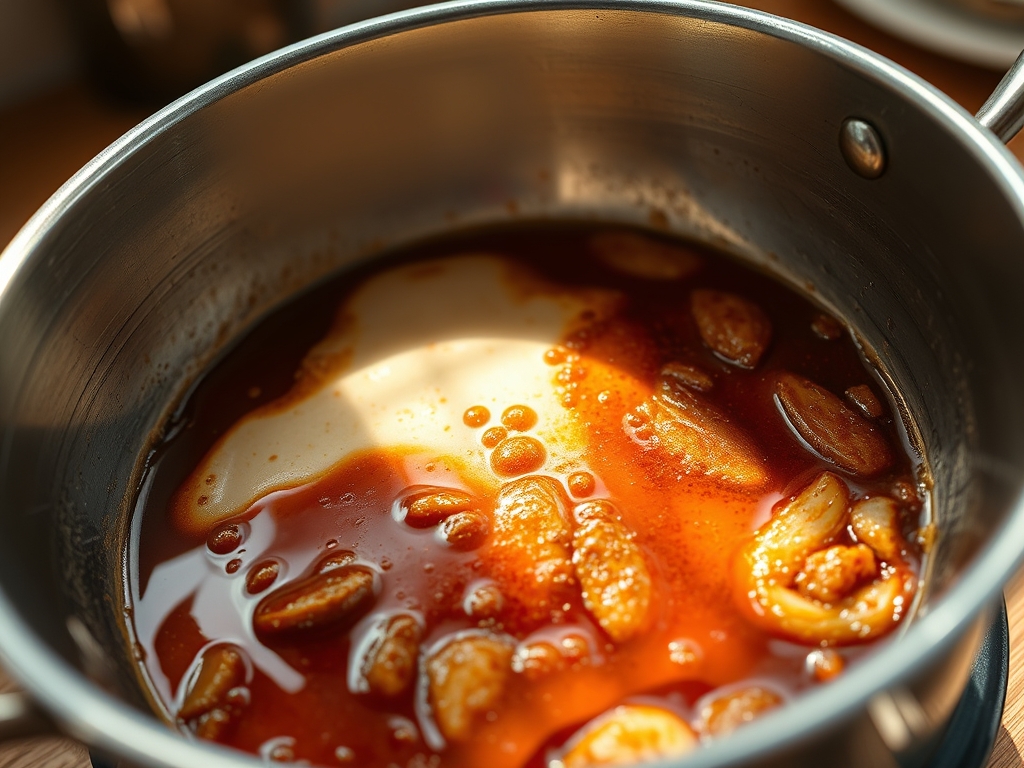
Place a heavy-bottomed stainless steel skillet or cast iron pan over medium-high heat. Once the surface temperature reaches approximately 175C (350F), apply your lipid. Use a saucier or a small brush to coat the pan evenly with butter or oil.
Pro Tip: Using a digital scale to measure your butter ensures consistency. The science here involves the evaporation of water in the butter; once the bubbling subsides, the milk solids are ready to toast the tortilla fibers without making them greasy.
2. The Foundation and Cheese Distribution
Lay the first tortilla into the pan. Immediately distribute the freshly grated cheese across the entire surface, leaving a 1cm margin at the edge to prevent overflow. Dust the cheese with your piquant spices and jalapenos.
Pro Tip: Spread the cheese in an even layer to ensure uniform heat distribution. If the cheese is piled in the center, the edges of the tortilla will burn before the core reaches its melting point.
3. The Structural Cap and Compression
Place the second tortilla on top. Use a heavy press or a secondary pan to apply downward pressure. This increases the surface area contact between the bottom tortilla and the heat source, accelerating the melt.
Pro Tip: Professionals use a bench scraper to check the underside for color. Compression forces the melting cheese into the nooks of the tortilla, acting as a culinary adhesive that reinforces the structural integrity of the final product.
4. The Kinetic Flip and Final Render
Once the bottom is golden brown, perform a swift flip. If you lack the wrist flick confidence, slide the quesadilla onto a plate, invert the pan over the plate, and flip them together. Toast the second side for sixty seconds until the cheese begins to render fat at the edges.
Pro Tip: This second side cooks faster because the internal temperature of the filling is already elevated. Use an infrared thermometer to ensure the pan surface has not exceeded the smoke point of your oil.
5. Post-Heat Rest and Precision Slicing
Remove the quesadilla and place it on a wire cooling rack for thirty seconds. This allows the steam to escape rather than being trapped against a flat plate, which would cause the bottom to lose its crunch.
Pro Tip: Use a sharp pizza wheel or a large chef knife to slice into quarters. Resting the assembly allows the cheese to slightly set, preventing the filling from shooting out the sides during the cut.
Section B: Prep & Timing Fault-Lines:
Timing is the silent killer of the 5 Minute Quesadilla Audit. If your pan is too cold, the tortilla will absorb the oil and become heavy. If it is too hot, the exterior will carbonize before the cheese reaches its flow state. Technical Fix: Always use a heavy-gauge pan. Thin pans have "hot spots" that lead to uneven browning. If you notice smoke, remove the pan from the heat immediately and wipe it out with a dry towel before restarting.
THE VISUAL SPECTRUM
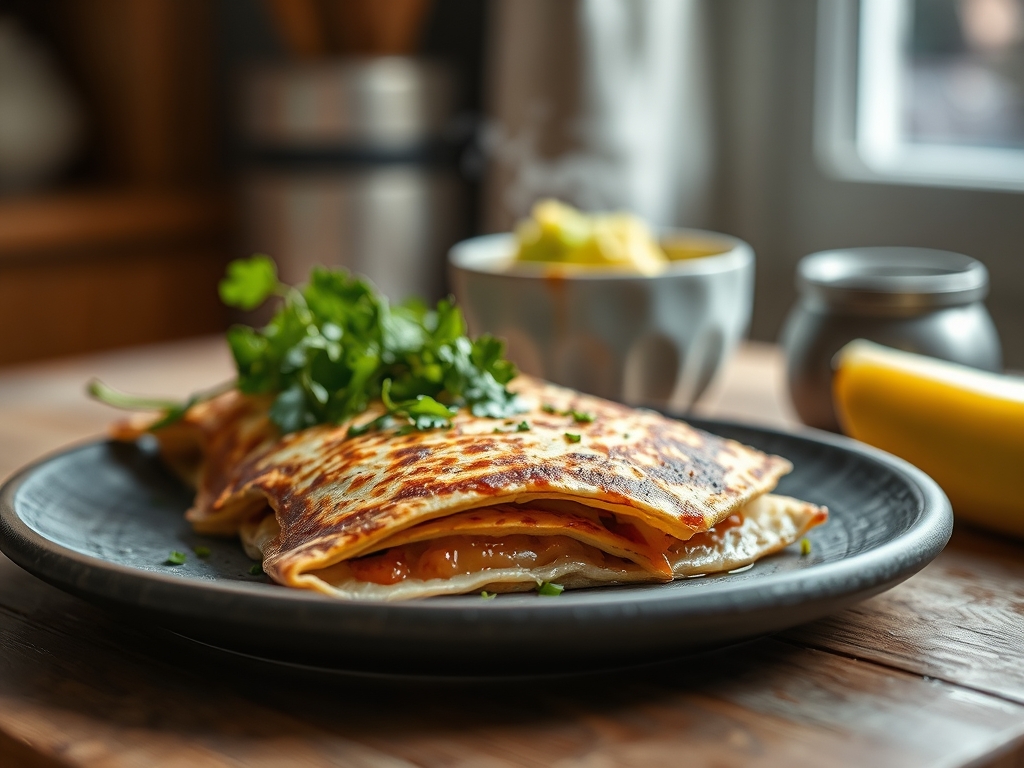
Section C: Thermal & Visual Troubleshooting:
Look at the Masterclass photo above. Notice the "blistering" on the surface. These are micro-pockets of air that have expanded under high heat, creating a shattered-glass texture. If your quesadilla looks flat and pale, your heat was too low. If the cheese looks oily and separated, you have overheated the proteins, causing them to tighten and squeeze out the fats. Technical Fix: To achieve that specific "gold-leaf" shimmer seen in the audit photo, ensure you are using a fat with a high smoke point or clarified butter. If the colors look dull, infuse your cooking oil with a pinch of turmeric or paprika before it hits the pan to enhance the visual warmth of the crust.
THE DEEP DIVE
Macro Nutrition Profile:
A standard execution yields approximately 580 calories. This includes 24g of protein, 32g of fats, and 48g of carbohydrates. To aerate the nutritional density, consider adding lean shredded chicken or black beans, which increases the fiber and protein-to-fat ratio without compromising the structural logic.
Dietary Swaps (Vegan/Keto/GF):
- Vegan: Substitute dairy with a cashew-based fermented cheese. These often require a lid on the pan to trap steam and encourage the melt.
- Keto: Replace flour tortillas with toasted cheese "shells" or almond flour wraps.
- GF: Use certified gluten-free corn tortillas; however, be aware they are more prone to "hinge failure" and should be served as flat stacks rather than folded.
Meal Prep & Reheating Science:
To maintain molecular structure when reheating, avoid the microwave at all costs. The microwave excites water molecules, turning your crisp crust into a rubbery mess. Instead, use an air fryer at 190C (375F) for two minutes. This re-dehydrates the surface while gently liquefying the fats inside.
THE KITCHEN TABLE
Why is my quesadilla always soggy?
Sogginess is usually caused by trapped steam or low-temperature frying. Ensure you rest the quesadilla on a wire rack for thirty seconds after cooking. This allows moisture to evaporate rather than re-absorbing into the flour matrix.
Can I use corn tortillas for this audit?
Yes, but corn tortillas have less gluten and are less flexible. They require more oil to prevent cracking. For a successful audit, treat them as "tostada stacks" rather than attempting a traditional fold.
What is the best cheese for the ultimate stretch?
High-moisture cheeses like Oaxaca, Monterey Jack, or even a low-moisture Mozzarella provide the best "pull." Avoid aged cheddars as their high protein-to-fat ratio causes them to break and become oily when heated rapidly.
Should I butter the pan or the tortilla?
Butter the pan. This allows for a more even distribution of heat and ensures the butter solids brown effectively. Applying butter directly to the tortilla often results in uneven saturated spots and a higher risk of tearing.