The kitchen is a laboratory of thermal dynamics; every morning is a high-stakes audit of your preparation infrastructure. You wake up with the hunger of a titan but the patience of a flickering candle. This is where the standard breakfast fails. A cold cereal bowl is a structural disappointment. A drive-thru run is a fiscal catastrophe. You need a solution that survives the cryogenic depths of the sub-zero chest and emerges with the structural integrity of a skyscraper. Enter the world of Freezer Breakfast Burritos. We are not just rolling tortillas; we are engineering modular nutrient delivery systems designed for maximum heat retention and flavor density. Imagine the Maillard reaction captured in a flour vessel; the golden-brown sear of the exterior protecting a core of viscous cheese and perfectly rendered proteins. This is the ultimate culinary insurance policy. We are building a fortress of flavor that defies the laws of freezer burn and soggy textures. Prepare for a systemic upgrade to your morning routine.
THE DATA MATRIX
| Metric | Specification |
|---|---|
| Prep Time | 45 Minutes |
| Execution Time | 20 Minutes |
| Yield | 12 Modular Units |
| Complexity (1-10) | 4 |
| Estimated Cost per Serving | $1.45 |
THE GATHERS
Ingredient Protocol:
- 12 Large Flour Tortillas (30cm / 12-inch diameter)
- 12 Large Eggs (720ml / 3 cups liquid volume)
- 500g / 1.1 lbs Breakfast Sausage or Chorizo
- 450g / 1 lb Russet Potatoes, peeled and diced (0.5cm cubes)
- 250ml / 1 cup Whole Milk or Heavy Cream
- 300g / 3 cups Sharp Cheddar, freshly grated
- 150g / 1 cup Red Bell Pepper, finely minced
- 115g / 0.5 cup Yellow Onion, brunoise cut
- 15ml / 1 tbsp Vegetable Oil or Lard
- 5g / 1 tsp Smoked Paprika
- To taste: Kosher Salt and Cracked Black Pepper
Section A: Ingredient Quality Audit:
The most common failure point in the Freezer Breakfast Burritos ecosystem is moisture migration. If your potatoes are gummy, you likely skipped the starch purge. Solution: Soak diced potatoes in cold water for ten minutes to remove surface starch; then pat them bone-dry before hitting the heat. If your eggs feel like rubber, you have over-agitated the proteins. Use a whisk to aerate the eggs just until the yolks and whites are homogenous; do not beat them into a frenzy. Finally, never use pre-shredded cheese. The cellulose coating used to prevent clumping in the bag will inhibit a smooth melt; always grate your own to ensure a viscous and cohesive internal bond.
THE MASTERCLASS
1. The Potato Foundation
Heat your oil in a heavy-bottomed cast iron skillet until it reaches the shimmering point. Add the dried potato cubes in a single layer. Do not crowd the pan; overcrowding leads to steaming rather than searing. Allow them to sit undisturbed to develop a deep golden crust.
Pro Tip: Use a bench scraper to flip the potatoes efficiently. The science here is the Maillard reaction; that brown crust provides a structural barrier that prevents the potato from turning into mush during the freezing and reheating cycles.
2. Protein Rendering
Remove the potatoes and add your sausage or chorizo to the same skillet. Use a wooden spoon to break the meat into small, uniform crumbles. As the fat begins to render, the meat will fry in its own lipids; this creates a piquant and concentrated flavor profile.
Pro Tip: Use a digital scale to divide your cooked protein into twelve equal portions later. Uniformity is the hallmark of professional infrastructure; every burrito must be a carbon copy of the last to ensure consistent reheating times.
3. The Low-Moisture Scramble
Wipe the skillet and reduce heat to medium-low. Add your aerated egg and milk mixture. Use a silicone spatula to gently move the eggs, creating large, soft curds. Remove the eggs from the heat while they still look slightly "wet."
Pro Tip: A saucier pan is actually the superior tool for eggs due to its rounded bottom, which prevents eggs from getting trapped in corners and overcooking. Residual heat will finish the cooking process; overcooked eggs will weep water when frozen, ruining the tortilla.
4. The Assembly Architecture
Lay out your tortillas. If they are stiff, microwave them for 20 seconds to make them pliable. Layer the cheese first to create a moisture barrier. Add the potatoes, meat, and eggs. Fold the sides in, then roll tightly from the bottom.
Pro Tip: Use a digital thermometer to ensure all fillings have cooled to room temperature before rolling. If you wrap hot ingredients, steam will condense inside the foil, leading to a soggy "blowout" during the final thaw.
Section B: Prep & Timing Fault-Lines:
The "Temperature Danger Zone" is your primary antagonist. If you leave your cooked fillings sitting on the counter for two hours while you watch television, you are inviting bacterial growth. Use an ice bath to rapidly cool your saucier or mixing bowls. Furthermore, timing the tortilla steam is critical. If you leave tortillas in the microwave too long, they will transition from pliable to brittle in seconds. Aim for the "sweet spot" where the gluten is relaxed but the structural integrity remains intact.
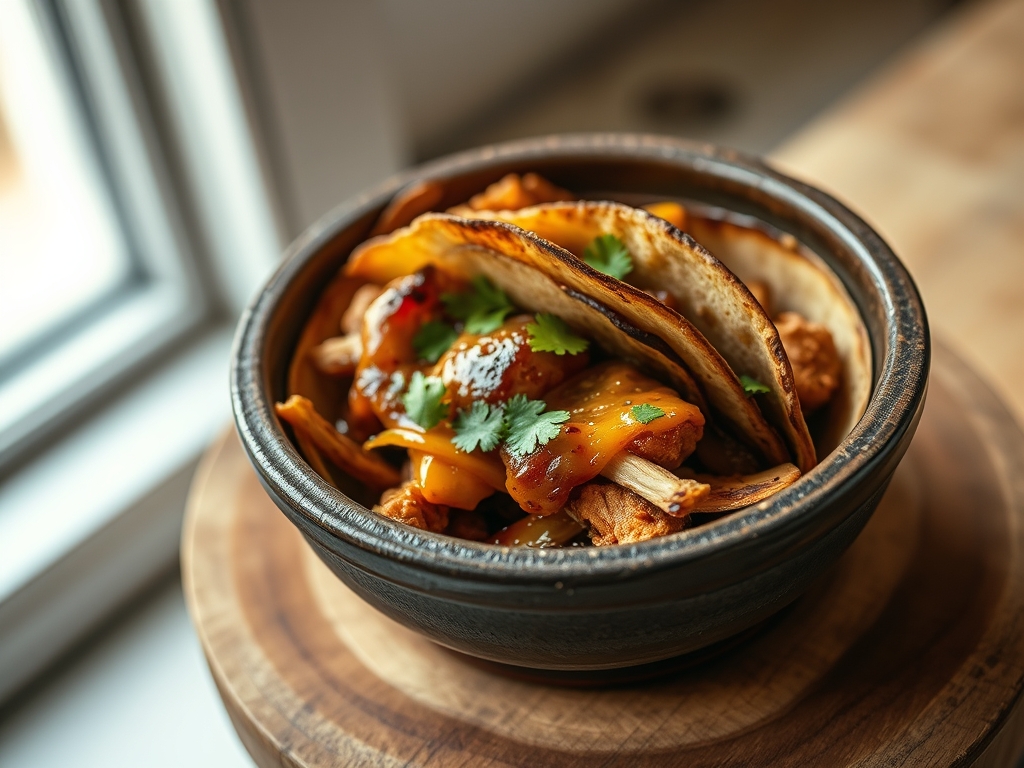
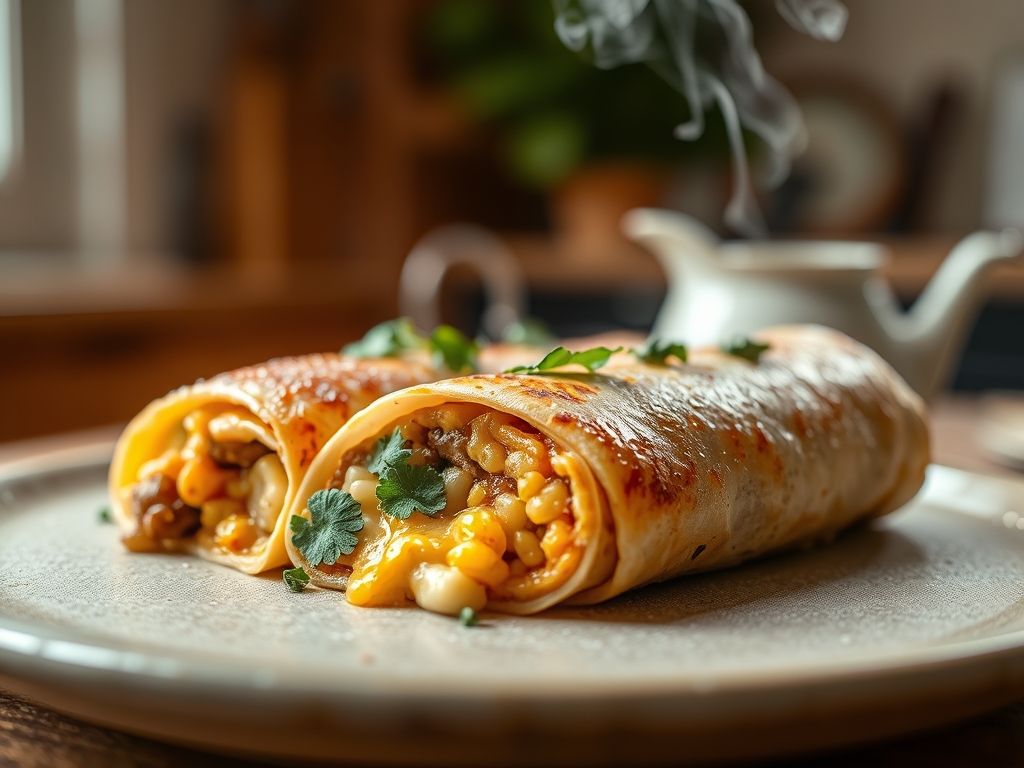
THE VISUAL SPECTRUM
Section C: Thermal & Visual Troubleshooting:
Look at the Masterclass photo above. Notice the distinct layers and the lack of "gray" space. If your burrito looks dull or monochromatic, you likely under-seasoned the vegetables. To fix dull colors, infuse your oil with smoked paprika before frying the potatoes. If you see uneven browning on the exterior after reheating, it means the burrito wasn't wrapped tightly enough; air pockets act as insulators and prevent even heat distribution. If the cheese hasn't melted into a viscous stream, your internal temperature hasn't reached the 165F threshold. Ensure your "visual cues" include a taut, slightly translucent tortilla skin that shows the vibrant colors of the peppers and sausage beneath.
THE DEEP DIVE
Macro Nutrition Profile
Each modular unit provides approximately 450 calories; 22g Protein, 38g Carbohydrates, and 24g Fat. This balance is designed for sustained energy release. The high protein content from the eggs and meat triggers satiety hormones; while the complex starches in the potatoes provide the glucose necessary for cognitive function.
Dietary Swaps
- Vegan: Replace eggs with a seasoned tofu scramble and use a soy-based chorizo. Swap cheese for a nutritional yeast-based cashew cream.
- Keto: Eliminate the tortilla and the potatoes. Wrap the filling in a large collard green leaf or serve as a "bowl" over cauliflower rice.
- GF: Utilize certified gluten-free flour tortillas. Be cautious; these are often more brittle and require extra steaming to prevent cracking.
Meal Prep & Reheating Science
To maintain molecular structure, wrap each burrito in parchment paper before the foil layer. The parchment acts as a buffer, absorbing excess moisture during the microwave phase. For the best results, thaw in the refrigerator overnight. Reheat in the microwave for 90 seconds, followed by 2 minutes in a toaster oven. This "dual-stage" heating ensures the center is hot while the exterior regains its crisp, rendered texture.
THE KITCHEN TABLE
How do I prevent my burritos from getting soggy?
The secret is cooling. Never wrap a hot filling. Ensure all components are at room temperature. This prevents steam from being trapped inside the tortilla, which is the primary cause of structural failure during the reheating process.
Can I use frozen hash browns instead of fresh potatoes?
Yes, but you must fry them until they are exceptionally crisp. Frozen hash browns have a higher moisture content; you need to render that water out in the pan to ensure they don't turn into mush inside the wrap.
How long do these stay viable in the freezer?
When wrapped in parchment and then a heavy-duty foil layer, these units will maintain peak quality for 3 months. Beyond that, ice crystals may begin to compromise the cellular structure of the eggs and vegetables.
What is the best way to reheat if I don't have a microwave?
Use an air fryer or a standard oven. At 350F, a thawed burrito will take about 12 to 15 minutes. This method is actually superior as it creates a beautiful, toasted exterior that a microwave cannot replicate.