Stop treating your kitchen like a hobbyist boutique and start treating it like a high-output manufacturing hub. We are here to dismantle the inefficiency of the nightly scramble. Imagine the scent of garlic-infused lipid clouds drifting through your vents; envision the rhythmic thud of a heavy-duty chef knife against a poly-board. This is the sensory reality of Bulk Chicken Meal Prep. We are not just cooking; we are engineering a caloric foundation that will sustain your biological machine for the next seven days. When you master the infrastructure of protein batching, you eliminate the decision fatigue that leads to expensive, sodium-heavy takeout. We are looking for that perfect Maillard reaction; the golden-brown crust that signifies the transformation of amino acids and reducing sugars into a complex flavor profile. This is about volume, precision, and the raw power of a preheated convection environment. Grab your digital scale and clear the counters. We are about to turn five kilos of raw poultry into a masterpiece of logistical efficiency.
THE DATA MATRIX
| Metric | Specification |
|---|---|
| Prep Time | 25 minutes |
| Execution Time | 45 minutes |
| Yield | 12 to 14 Servings |
| Complexity (1-10) | 3 |
| Estimated Cost per Serving | $1.85 USD |
THE GATHERS
Ingredient Protocol:
- 5 kg / 11 lbs Boneless Skinless Chicken Thighs
- 120 ml / 0.5 cup Extra Virgin Olive Oil
- 60 g / 4 tbsp Smoked Paprika
- 30 g / 2 tbsp Granulated Garlic
- 15 g / 1 tbsp Dried Oregano
- 20 g / 1.3 tbsp Kosher Salt
- 10 g / 2 tsp Cracked Black Pepper
- 50 ml / 3.4 tbsp Fresh Lemon Juice
Section A: Ingredient Quality Audit:
If your raw poultry arrives with excessive moisture or a "slimy" film, the protein has likely begun to purge its cellular fluids due to temperature fluctuations. This is a disaster for browning. To fix this, pat the meat dry with industrial-grade paper towels and let it air-dry on a wire rack in the refrigerator for 30 minutes. If your spices lack a piquant aroma, they are oxidized. Revive them by lightly "blooming" the dry rub in a small saucier with a teaspoon of oil over low heat for 60 seconds before applying to the meat. This will infuse the fats with the essential oils trapped in the dried herbs.
THE MASTERCLASS
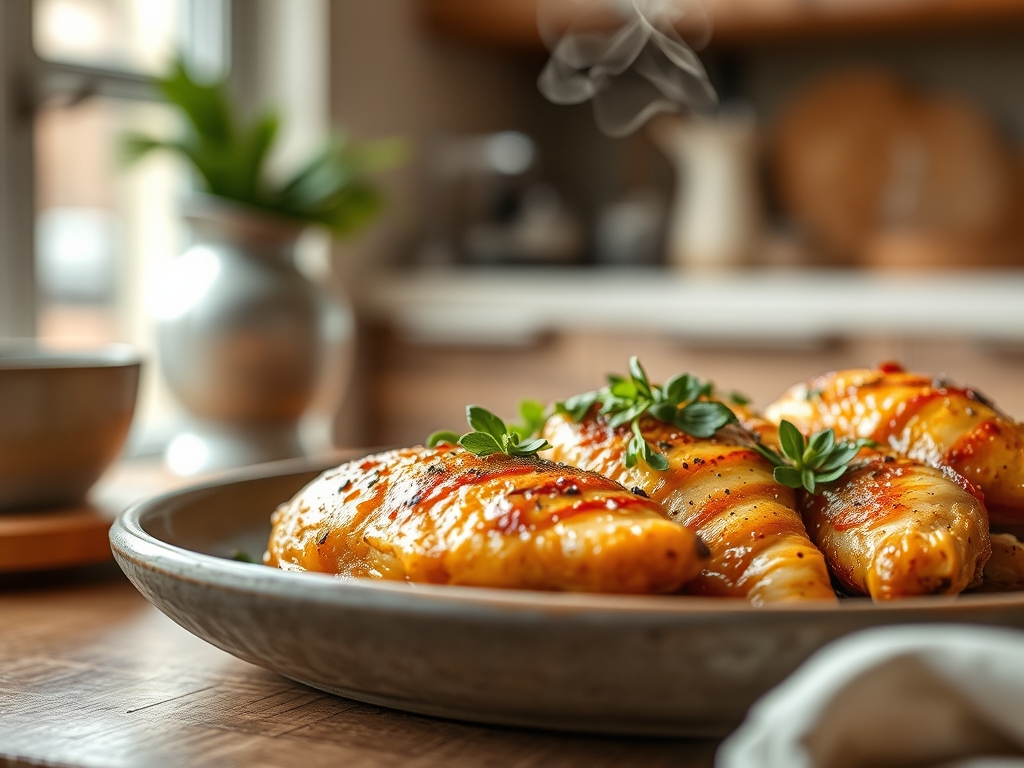
1. The Surface Dehydration Phase
Before a single grain of salt touches the meat, you must ensure the surface is bone-dry. Use a bench scraper to organize your workstation and move the chicken from the packaging to a drying station.
Pro Tip: Moisture is the enemy of the Maillard reaction. If the surface is wet, the energy of the oven is wasted evaporating water rather than browning the protein. This results in "steamed" chicken that looks grey and unappealing.
2. The Emulsified Marinade Application
In a large stainless steel mixing bowl, combine the oil, lemon juice, and spices. Use a whisk to aerate the mixture until it becomes a viscous emulsion. Toss the chicken thoroughly until every crevice is coated.
Pro Tip: Using a digital scale to measure your dry rub ensures that serving number one tastes exactly like serving number twelve. Consistency is the hallmark of professional infrastructure.
3. High-Density Thermal Loading
Arrange the chicken on heavy-gauge rimmed baking sheets. Do not overcrowd the pans; leave at least two centimeters of space between pieces to allow for proper airflow and heat distribution.
Pro Tip: Heat transfer occurs more efficiently via convection. If you crowd the pan, the cold mass of the chicken drops the oven temperature too rapidly, leading to a stalled cook time and tough textures.
4. The Rendering and Resting Protocol
Roast at 220C / 425F until the internal temperature hits 74C / 165F. Remove from the oven and immediately transfer the chicken to a clean tray to rest. Do not skip the rest.
Pro Tip: Resting allows the muscle fibers to relax and reabsorb the juices. If you cut the chicken immediately, the internal pressure will force the liquid out, leaving you with dry, "woody" protein for the rest of the week.
Section B: Prep & Timing Fault-Lines:
The most common human error in Bulk Chicken Meal Prep is the "Cold Start" fallacy. Taking five kilograms of meat directly from a 3C refrigerator and shoving it into the oven will result in a raw center and burnt exterior. Allow the meat to sit at room temperature for 20 minutes to take the chill off. Furthermore, if your oven has "hot spots," rotate your pans 180 degrees halfway through the cycle. Use a calibrated digital probe thermometer to eliminate guesswork; timing is a variable, but internal temperature is a constant.
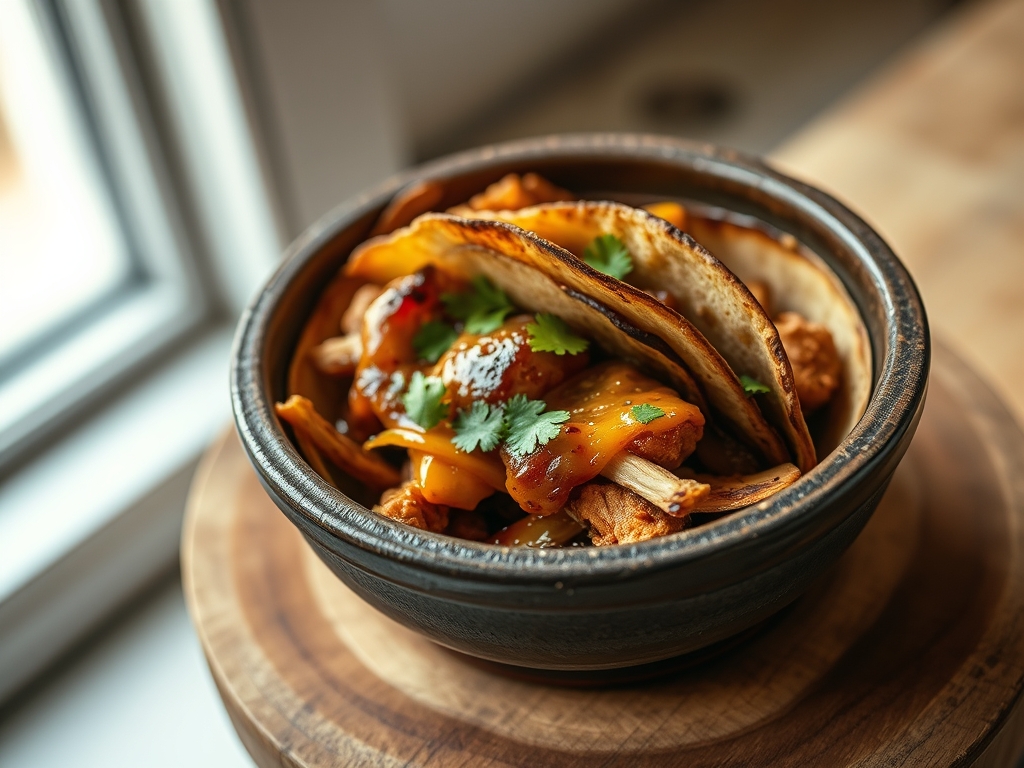
THE VISUAL SPECTRUM
Section C: Thermal & Visual Troubleshooting:
Referencing the Masterclass photo above, you are looking for a deep, mahogany-colored crust with visible flecks of charred herbs. If your chicken looks pale, your oven temperature was too low or you used too much lemon juice, which prevents the surface from reaching the 150C required for browning. If the edges are black but the centers are pink, your rack position was too high. The goal is a uniform, glistening sheen; this indicates that the fats have begun to render and coat the exterior. If the chicken looks "dull" or matte, it is likely overcooked and dehydrated. A quick fix is to deglaze the baking pan with a splash of chicken stock and pour those concentrated juices back over the meat.
THE DEEP DIVE
Macro Nutrition Profile:
A standard 150g serving of this protocol yields approximately 320 calories, 42g of protein, 16g of fat, and 2g of carbohydrates. This high-protein density makes it the ideal anchor for any metabolic goal.
Dietary Swaps:
- Vegan: Replace the chicken with 4 kg of extra-firm pressed tofu or seitan chunks. Reduce roasting time by 15 minutes.
- Keto: The current protocol is naturally Keto-compliant. Increase the olive oil by 30ml for higher fat ratios.
- GF: Ensure your smoked paprika and granulated garlic are certified gluten-free to avoid hidden anti-caking agents.
Meal Prep & Reheating Science:
To maintain the molecular structure during reheating, avoid the microwave if possible. Microwaves vibrate water molecules, which can tear the protein fibers and cause a "rubbery" mouthfeel. Instead, use a toaster oven at 150C or a hot skillet. If you must use a microwave, cover the container with a damp paper towel to create a steam-dome, which prevents the meat from desiccating.
THE KITCHEN TABLE
Why is my chicken always dry after three days?
You likely overcooked it during the initial batch. Pull the chicken at 72C; the carryover heat will bring it to the safe 74C mark without incinerating the cellular moisture. Proper storage in airtight glass containers also prevents oxidative desiccation.
Can I use chicken breasts instead of thighs?
Yes, but decrease the oven time by 8 to 10 minutes. Breasts lack the intramuscular fat and connective tissue of thighs, making them far less forgiving during the reheating process. Thighs are superior for the infrastructure of long-term batching.
How do I get the spices to stick better?
The key is the oil-to-acid ratio. The oil acts as a carrier for the spices, while the acid (lemon juice) slightly denatures the surface proteins, allowing the rub to "grip" the meat. Always pat the meat dry first.
What is the best way to freeze this?
Flash-freeze individual portions on a tray for two hours before transferring them to vacuum-sealed bags. This prevents the pieces from clumping together and protects the protein from freezer burn, preserving the structural integrity for up to three months.